
AlphaNet User Guide: Trade Execution and Strategy Deployment
Getting Started with Standard Mode, Autopilot and Dynamic TWAP
This guide covers AlphaNet strategy deployment and trade execution, including wallet setup, Standard and Autopilot modes, AI for trade execution and Dynamic TWAP order controls.
1. Getting Started
Before trading on AlphaNet, you will need to connect your wallet — any wallet from commonly used L1s work. The following networks are currently supported, with additional networks to be gradually added in the future.
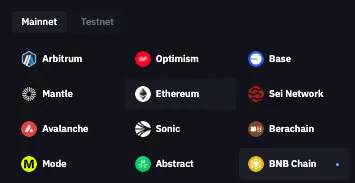
(Arbitrum, Optimism, Base, Mantle, Ethereum, Sei Network, Avalanche, Sonic, Berachain, Mode, Abstract, BNB Chain)
1.1 Connect Wallet
Click on Connect wallet.
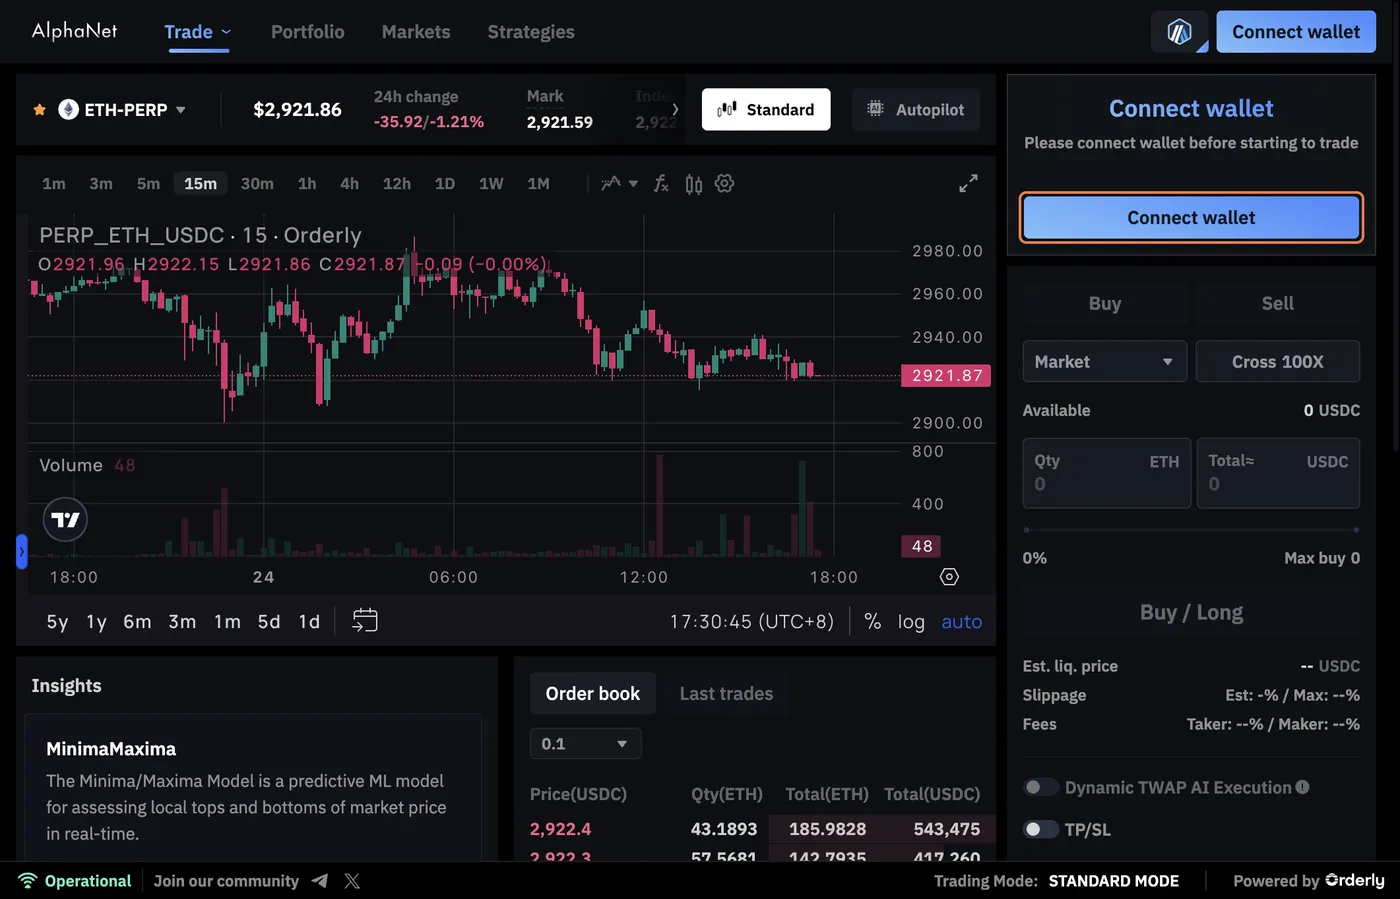
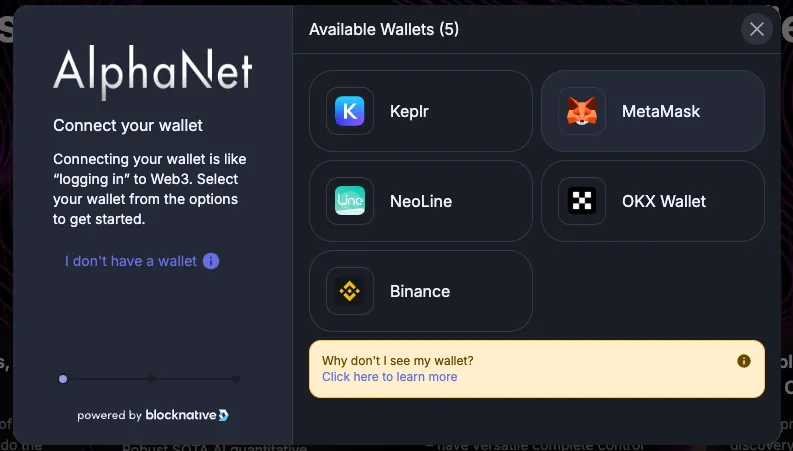
Click on a wallet to connect. (The list of available wallets is determined by the wallets installed on your device.)
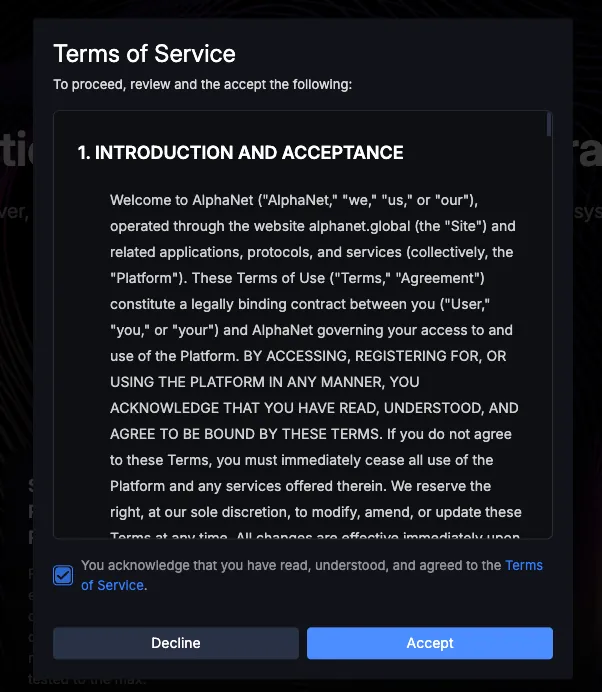
Check You acknowledge that you have read, understood, and agreed to the Terms of service.
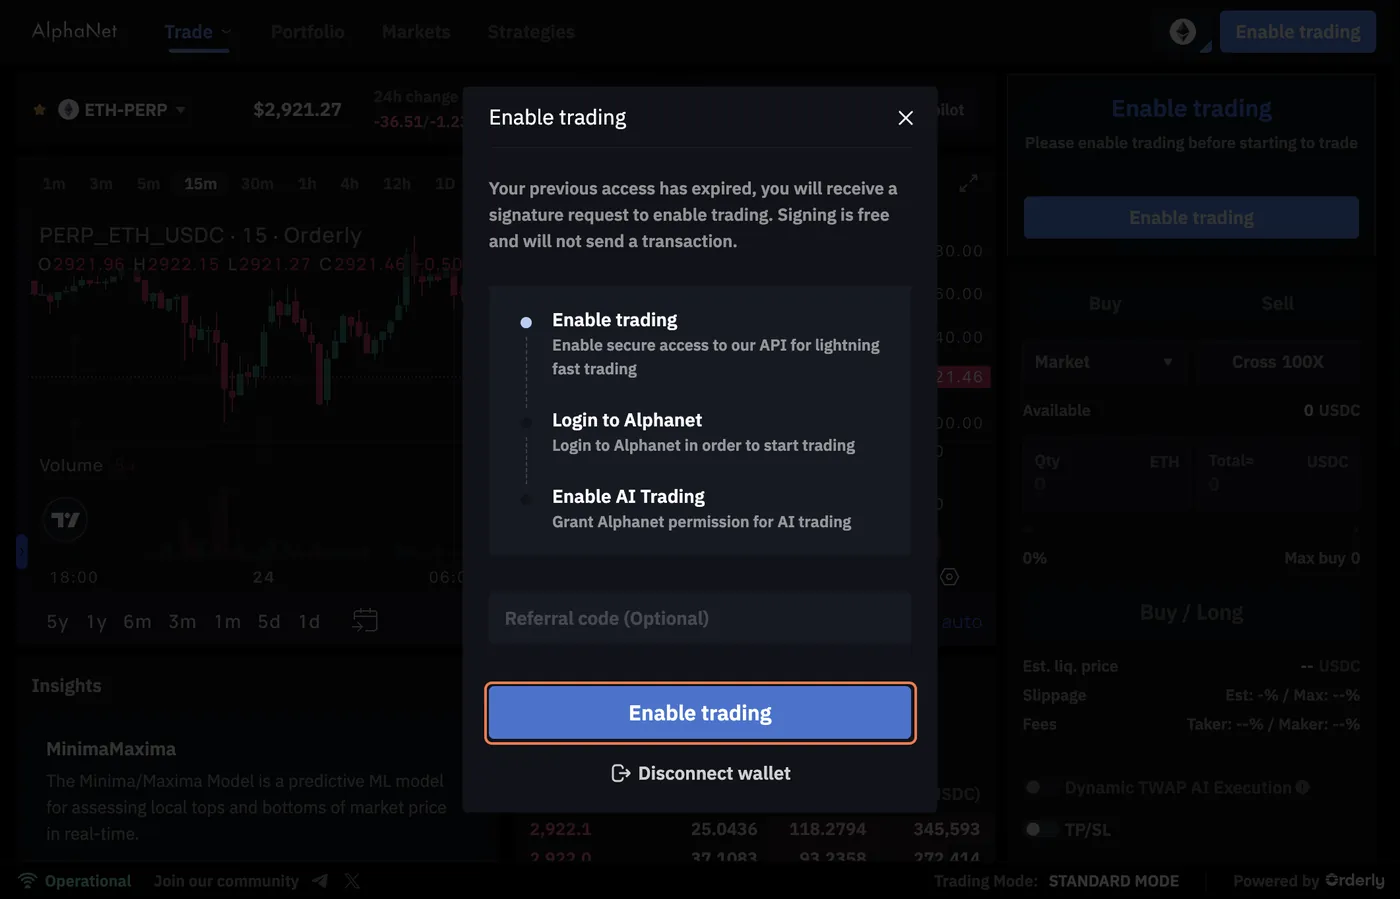
Click on Enable trading, then complete a series of signatures.
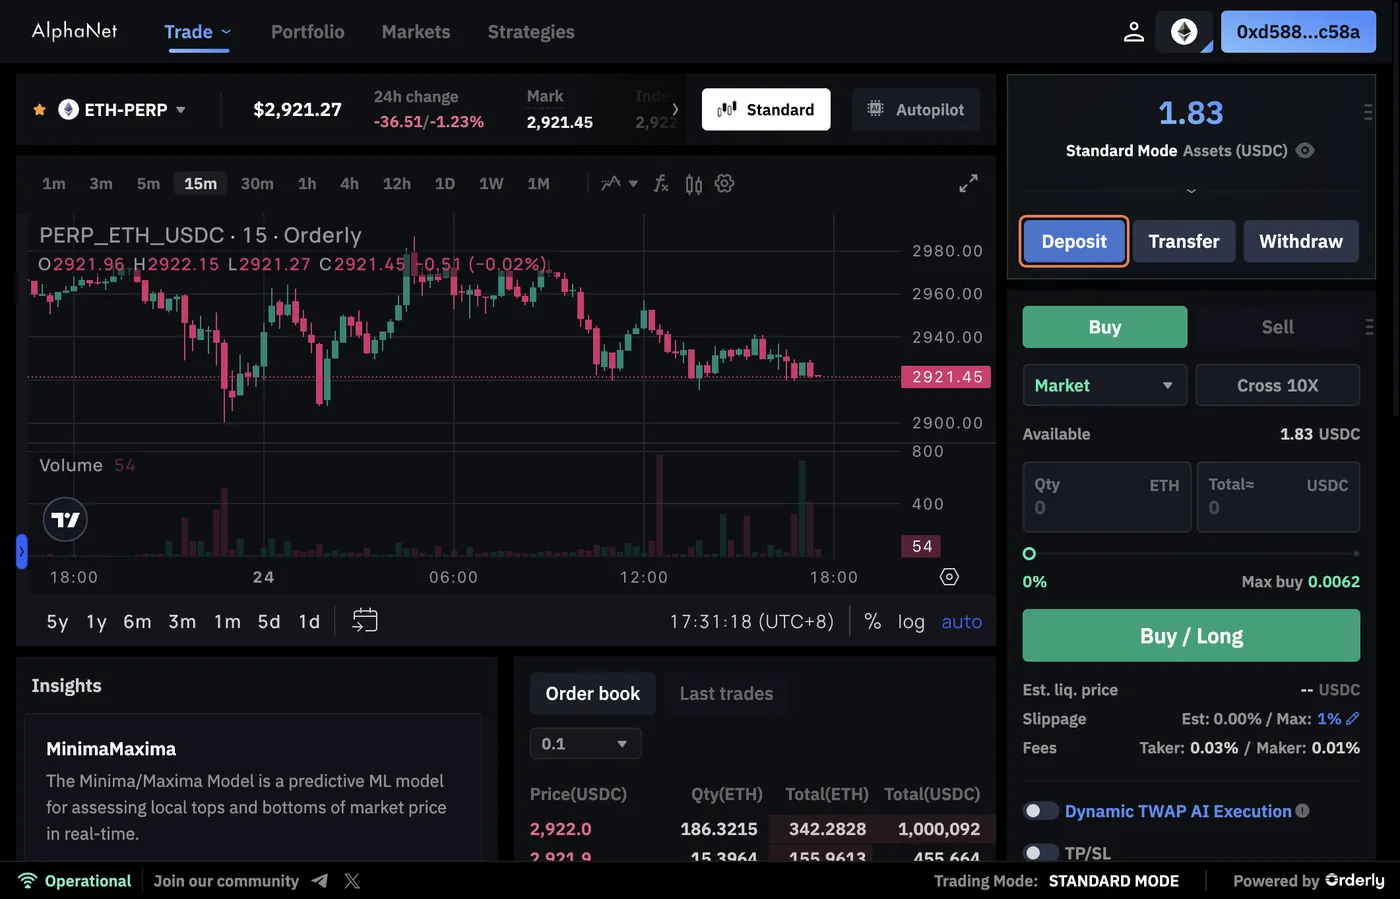
Click on Deposit.
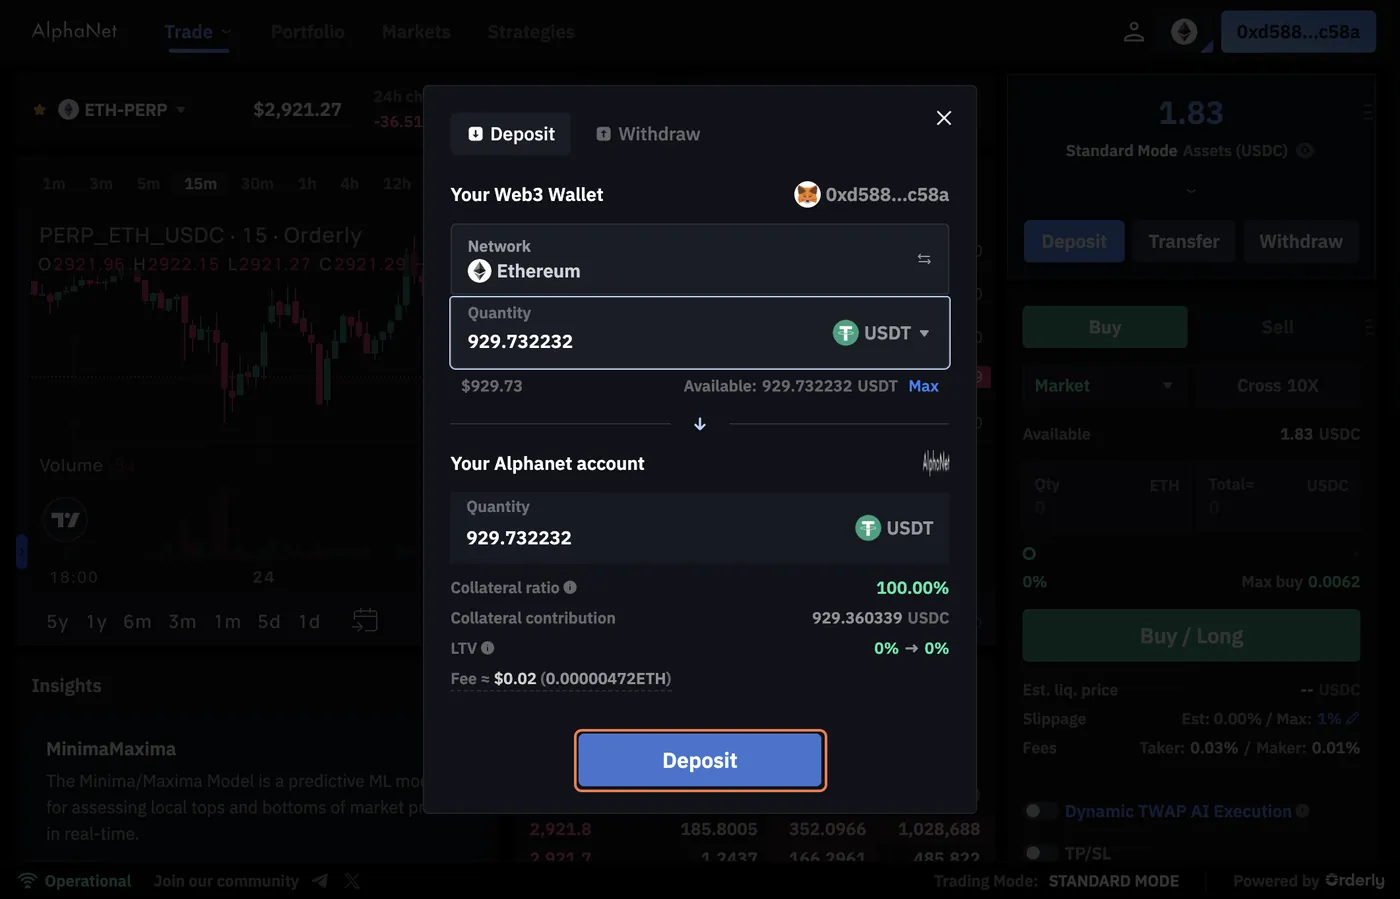
Select the token, enter the amount, and then click Deposit. The deposited funds are expected to be credited within a few minutes to around 10 minutes.
If you want to withdraw tokens, click Withdraw.
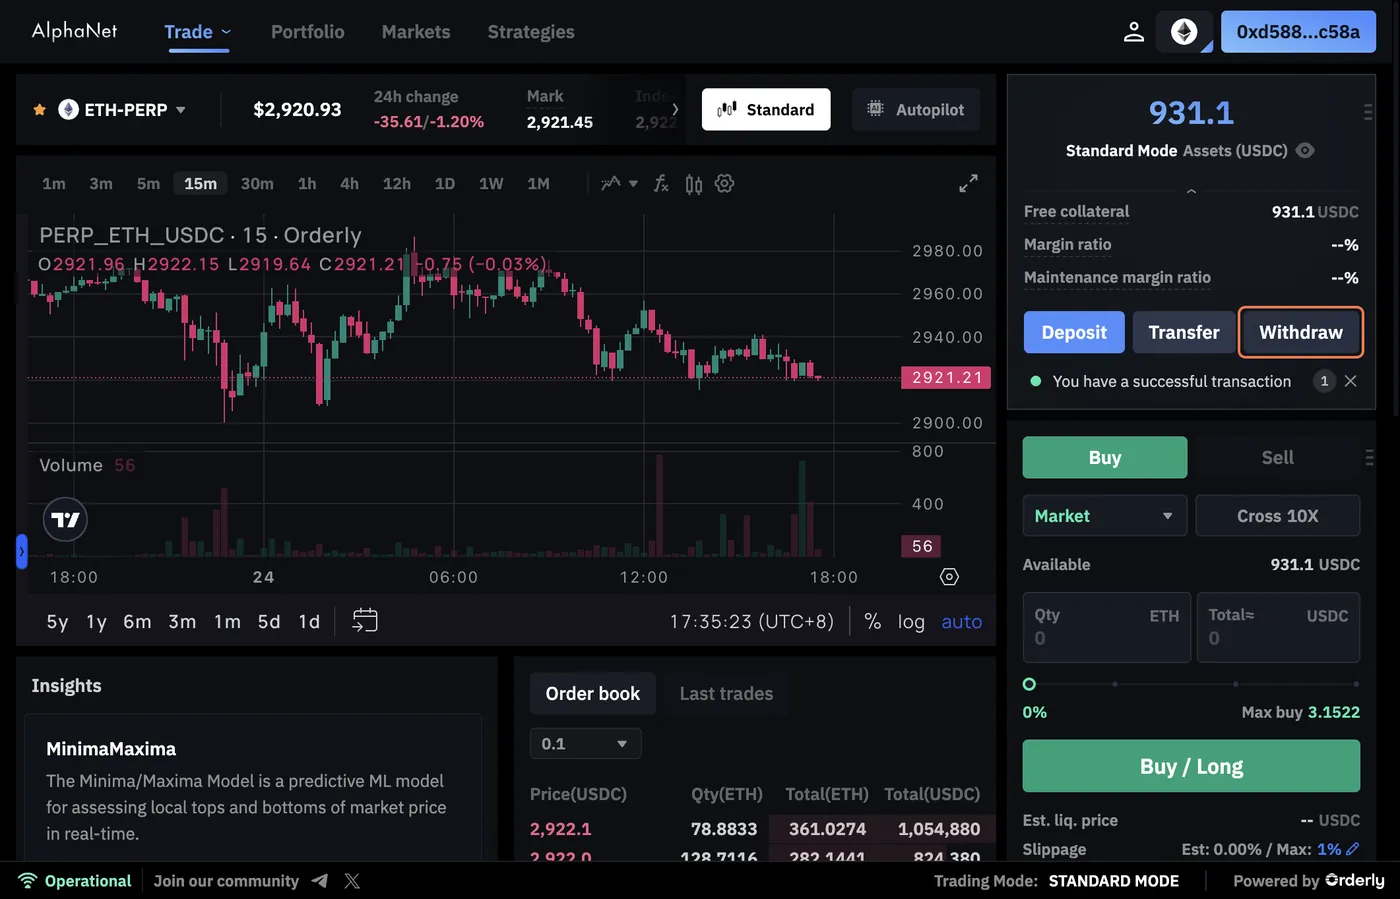
Select the token you deposited, enter the amount, and then click Withdraw.
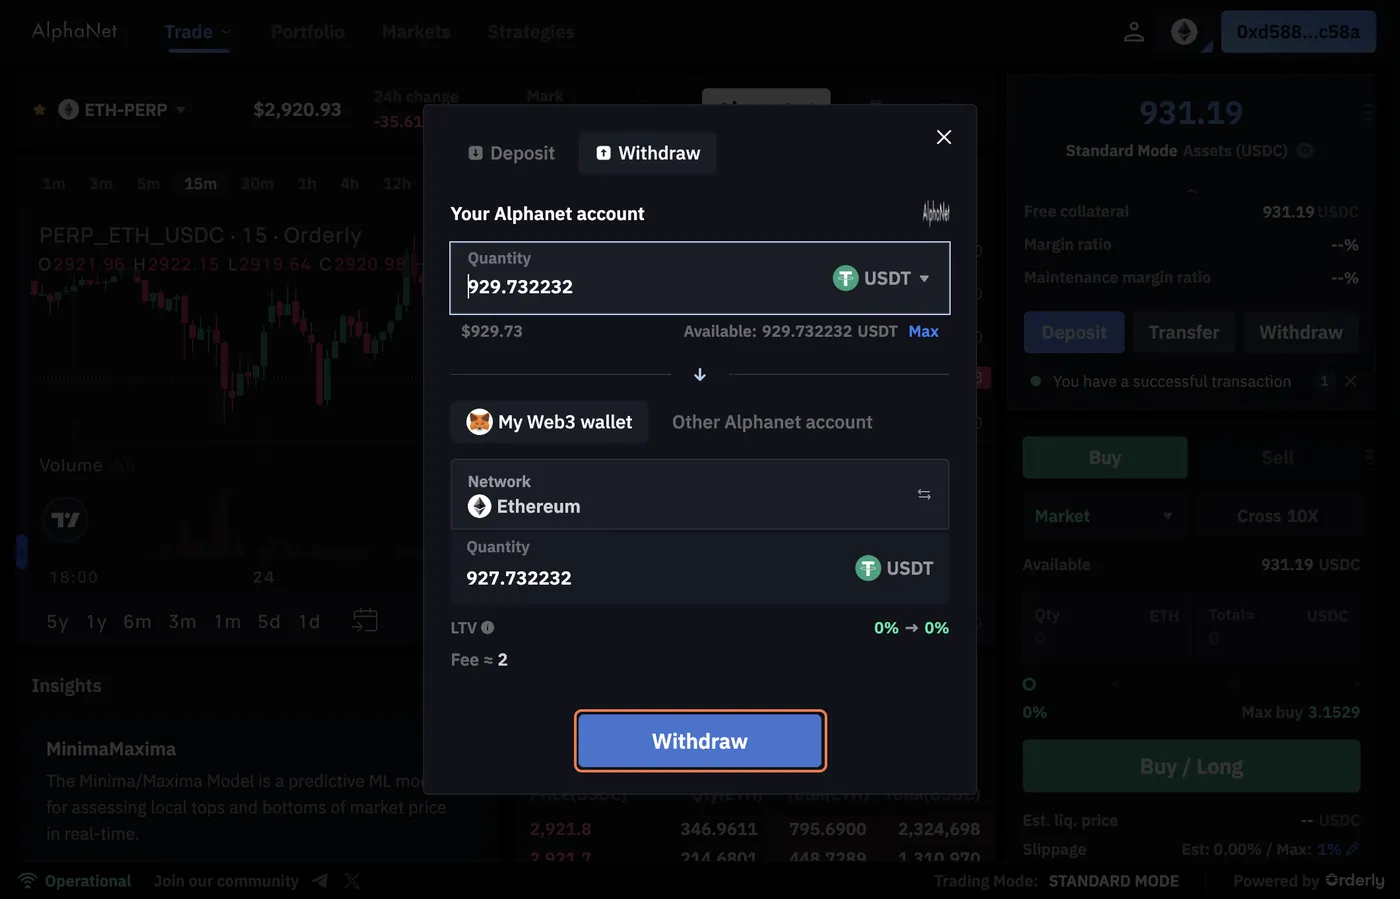
1.2 Strategy Deployment
There are two ways to deploy strategies. Let’s start with the first one.
Click on Autopilot Mode.
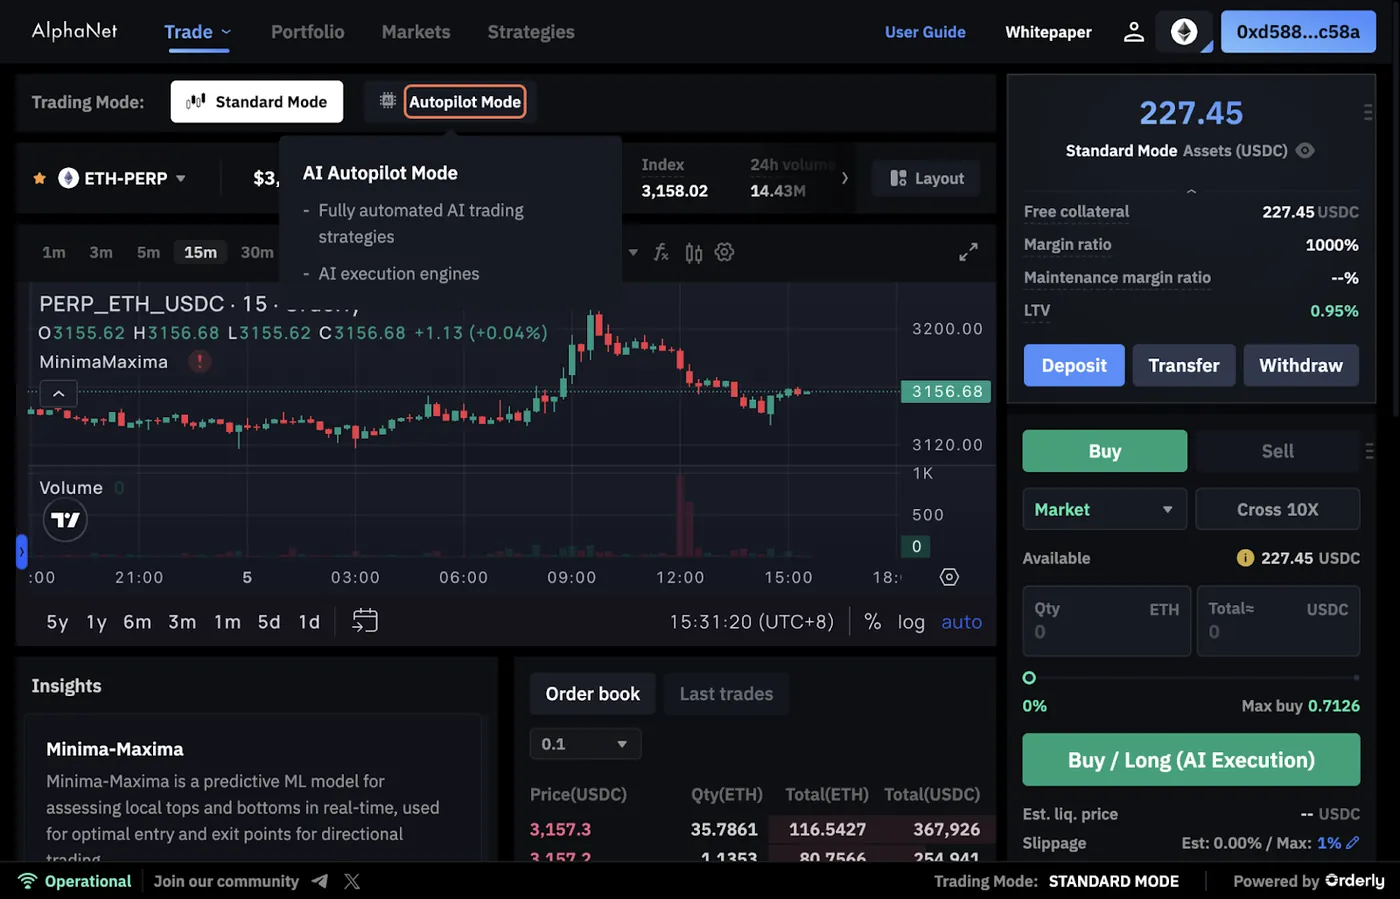
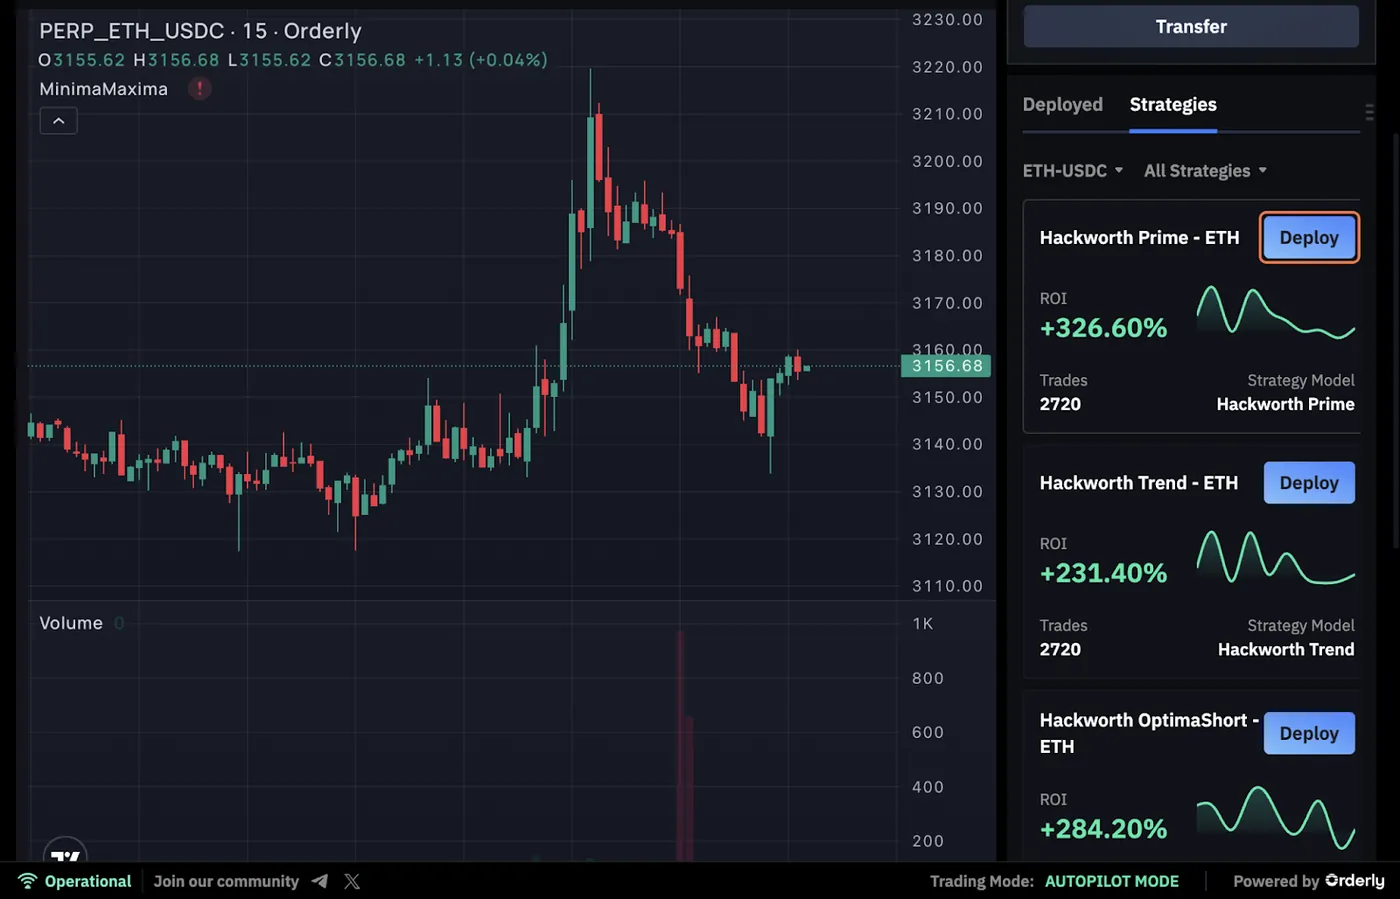
Choose a strategy, and click on Deploy.
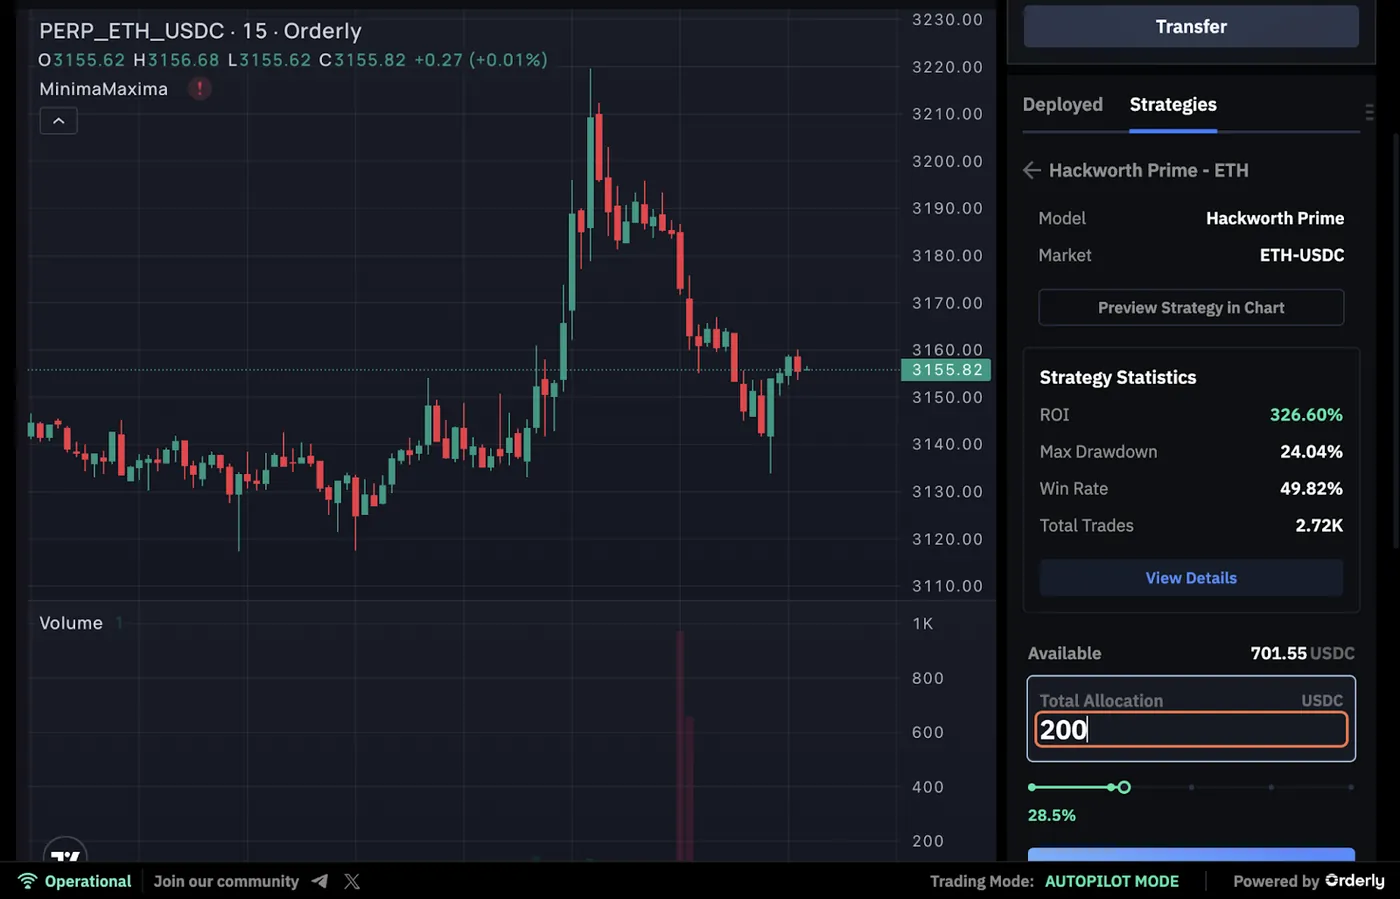
Enter USDC amount, then click on Deploy Strategy.
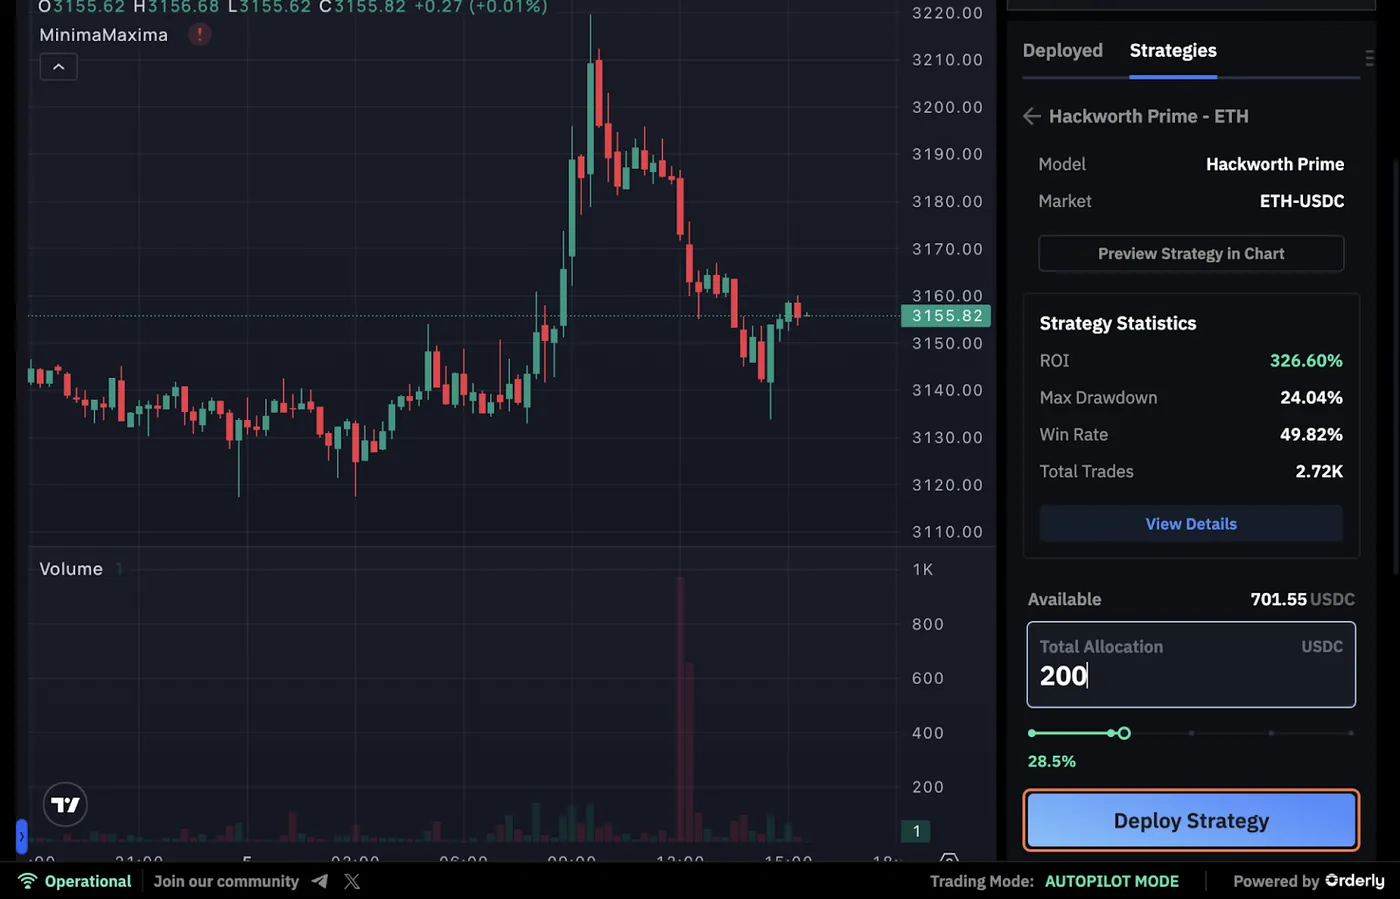
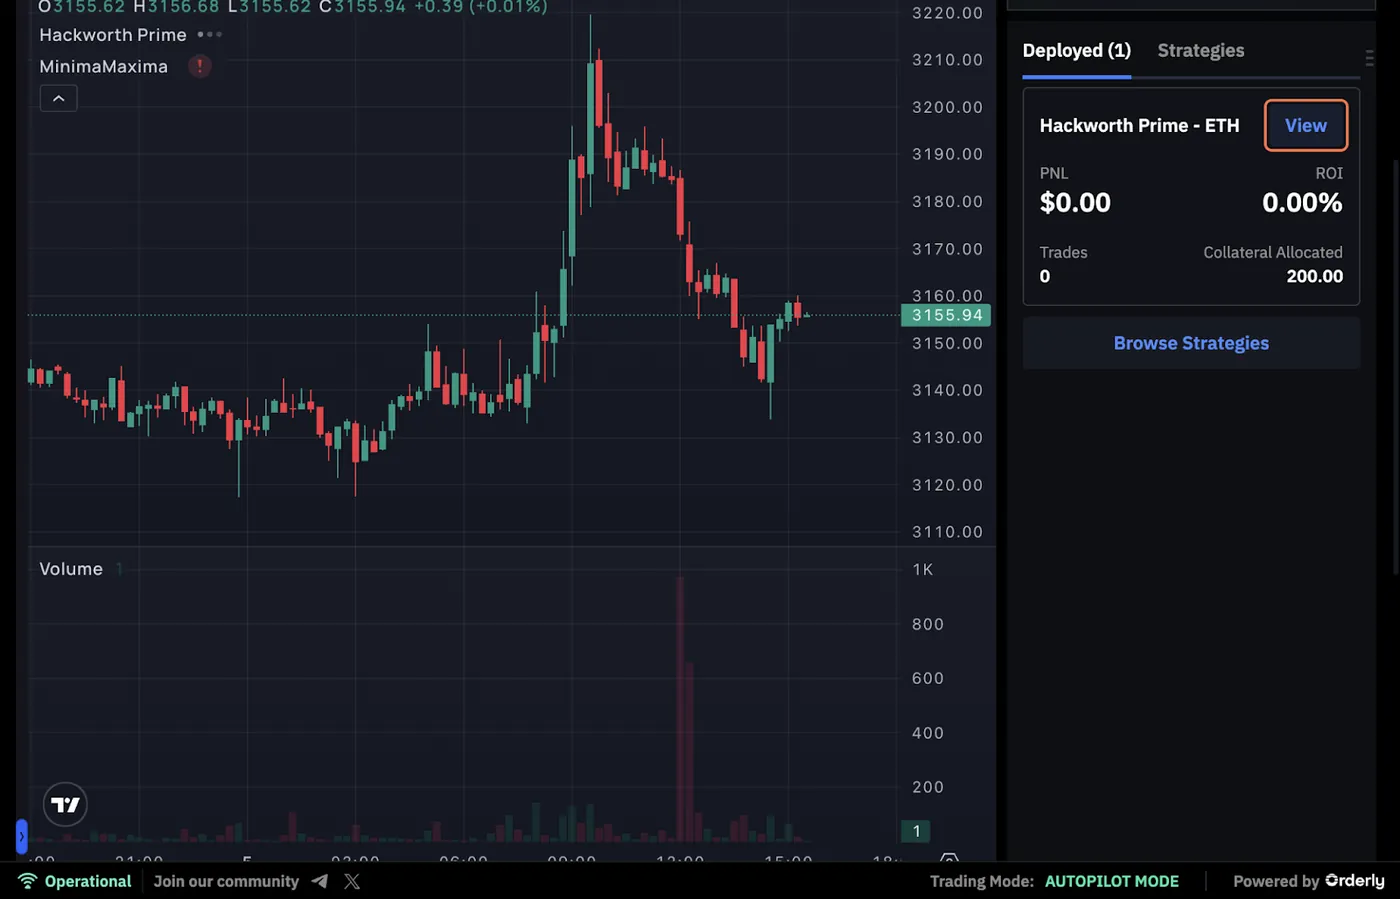
Click the View to see the strategy.
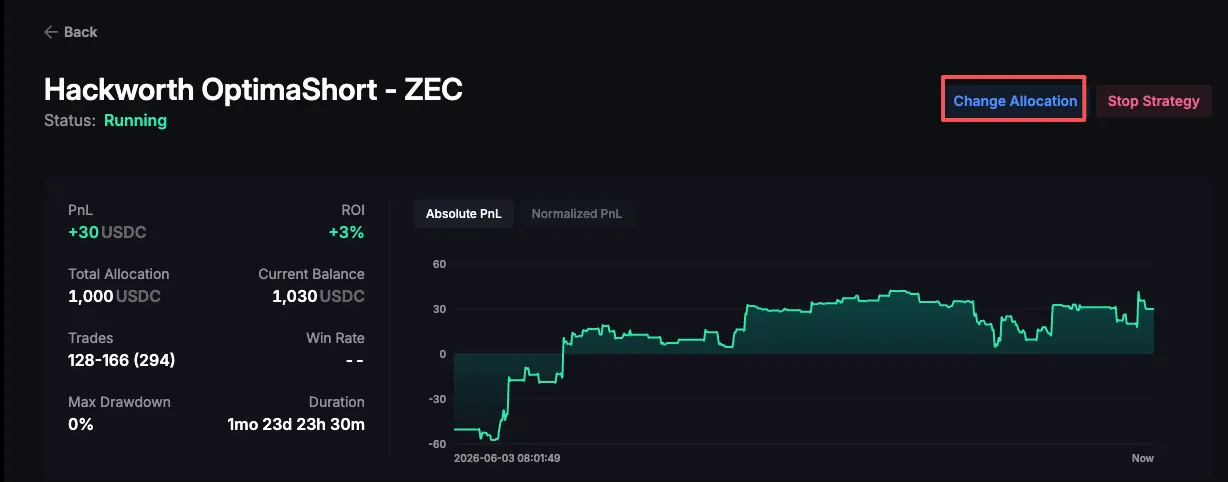
You can click click Change Allocation to adjust your position, or click Stop Strategy to close it.
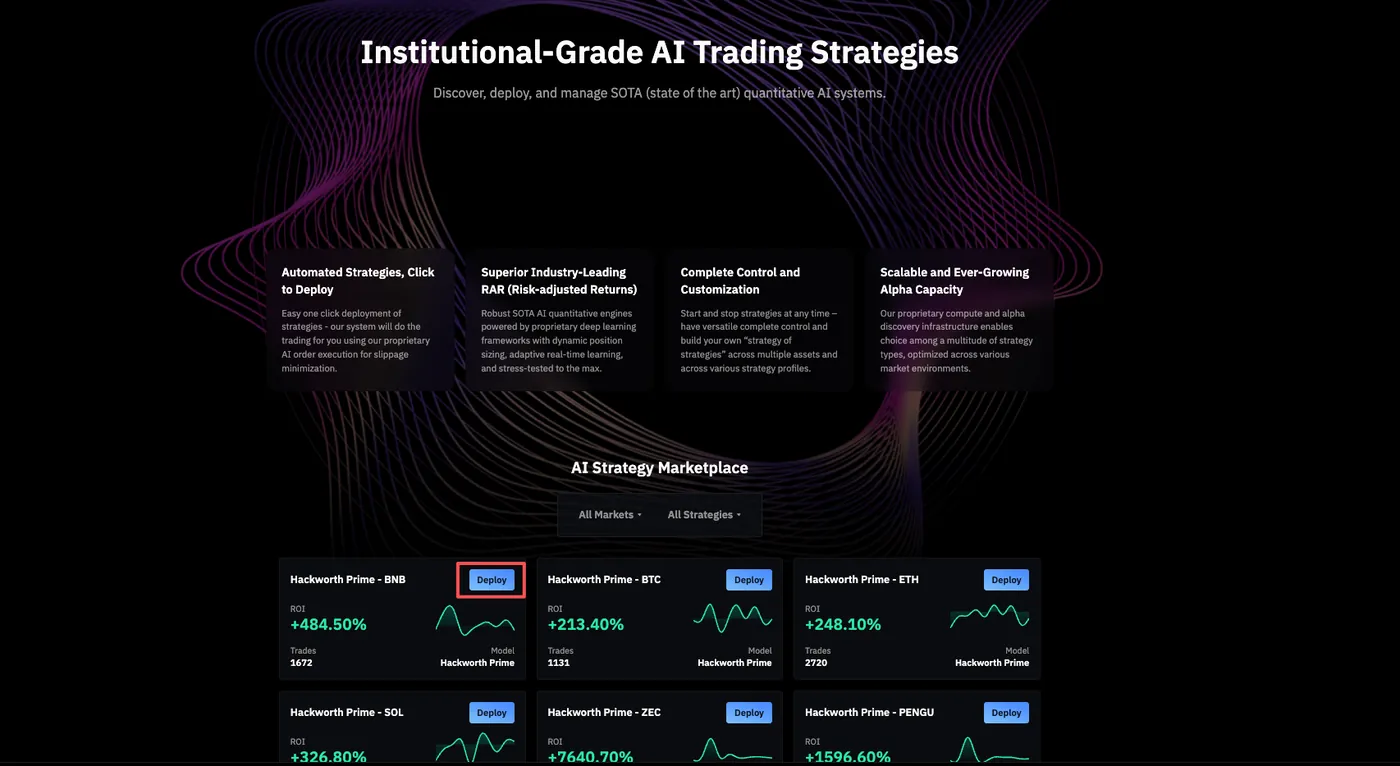
Besides deploying through Autopilot, you can also deploy directly via the Strategy Marketplace.
Go to the Strategies page, select the strategy you’re interested in, and click the Deploy button.
Enter the amount you want to deploy, and then click the Deploy Strategy button.
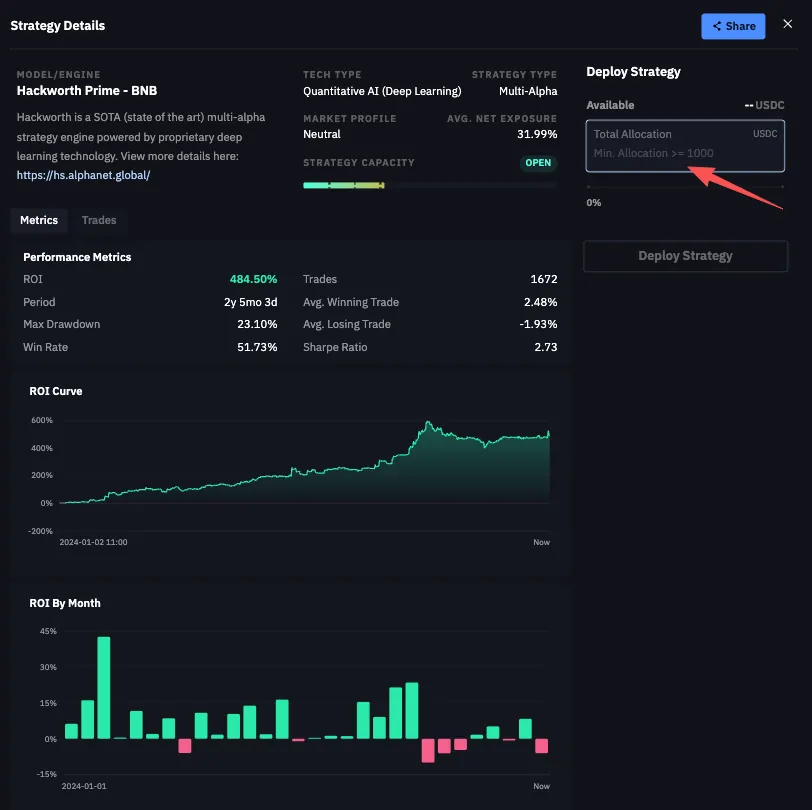
1.3 Exposure, deployment and auto-stop limits
Each strategy has a Max exposure, the highest combined position exposure it may hold as a percentage of its allocation. It can exceed 100%. Where long and short limits differ, the larger is used, not their sum.
Deployment limit: 3×
Deployment ratio = (Σ(allocation × Max exposure percentage) + manual net-position notional) ÷ account equity.
New or increased deployments must keep this ratio at or below 3×. The allocation commitment counts even when a strategy has no open positions; live strategy positions are not added again.
Auto-stop limit: 6×
Auto-stop ratio = (live strategy net-position notional + manual net-position notional) ÷ account equity.
At or above 6×, AlphaNet stops all running strategies and closes only their positions. Manual positions remain open for you to manage. Stopped strategies do not restart automatically.
For both ratios, long and short positions offset within the same asset and group. Sum the absolute net notional for each asset separately across the strategy group or manual group. Never offset strategy positions against manual positions, or positions in different assets.
Equity losses or withdrawals can increase either ratio. The auto-stop is separate from venue liquidation and does not guarantee a loss cap or execution price; closing orders remain subject to liquidity, slippage and delays.
Available allocation for a selected strategy
Additional allocation = max(0, 3 × account equity − existing deployment exposure commitments − manual net-position notional) ÷ the selected strategy’s Max exposure percentage.
This amount depends on the selected strategy, rather than being a single account-wide number. Venue margin and other applicable limits may reduce what you can deploy.
For example, with 1,000 USDC equity, 1,000 USDC allocated to HYPE Trend at 140% Max exposure, and 200 USDC of manual net positions, the deployment ratio is 1.6×. The remaining exposure allowance is 1,400 USDC, which supports up to 1,000 USDC additional allocation to that same 140% strategy, subject to other limits. If live strategy positions total 500 USDC, the auto-stop ratio is 0.7×.
2. Trading Modes and Trade Execution
AlphaNet provides users 2 modes of trading — Standard (manual with AI Insights and execution engine) and Autopilot mode. They are completely different ways of reaping the benefits of AlphaNet and users are able to leverage both at the same time:
Standard Mode - Traders trade manually, utilizing their own approach and discretion. Combine with our AI algo execution engine for slippage and cost minimization, as well as trade execution automation.
Autopilot Mode - Completely automated trading, select from an arsenal of high Sharpe quantitative AI strategies and deploy with a click. Users have the ability to start and stop strategies at anytime — choose strategies by market profile and specs, and create their own "strategy of strategies".
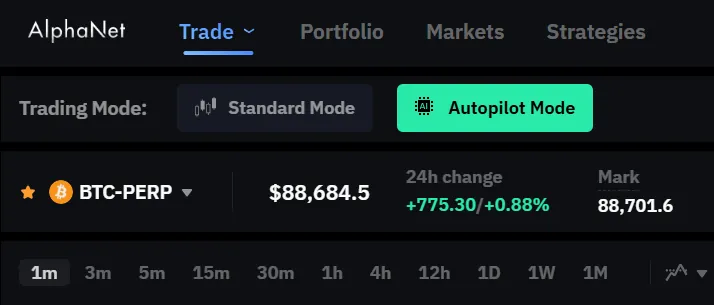
To switch between modes, simply select "Trading Mode" on top left corner of screen and use the intuitive user interface
3. AI for Trade Execution
Slippage and inefficient trading execution add up significant costs over time for traders, especially those that trade leveraged futures. AlphaNet's AI algo execution engines are based on proprietary deep-learning frameworks that dynamically break up a trade into many smaller chunks for optimal execution and minimized slippage.
Our AI algo execution utilizes many factors for optimal execution, including price drift risk, directional price prediction, and liquidity — as an order plays out, the engine dynamically speeds up or slows execution to optimize for the end result (best execution price).
3.1 Dynamic TWAP
Currently, one version of this algorithm is available on AlphaNet — Dynamic TWAP. Dynamic TWAP is a deep learning-based algorithm that operates under a fixed time constraint and dynamically updates execution policy in real-time based on order size, orderbook, price, volume, and market conditions. Dynamic TWAP is perfect for scalping, short-timeframe trading, and trading strategies that are price risk and drift-sensitive. More variants of AI algo execution, including (maker-taker hybrid, and pure maker algo VWAP) will be added later on.
To utilize AI algo execution, simply go to the order section (right hand side of UI), and click on "Enable AI Execution", set time constraint parameters, and the algo will do the heavy lifting for the user.
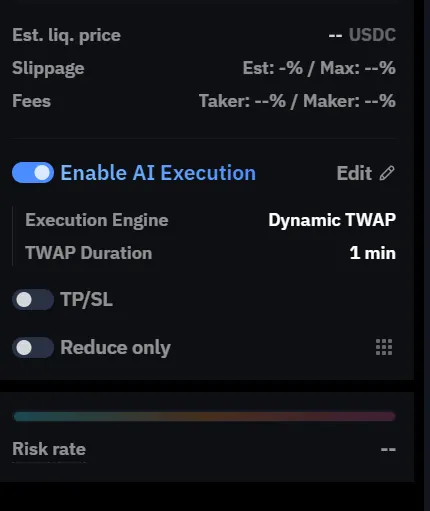
Select "Enable AI Execution"
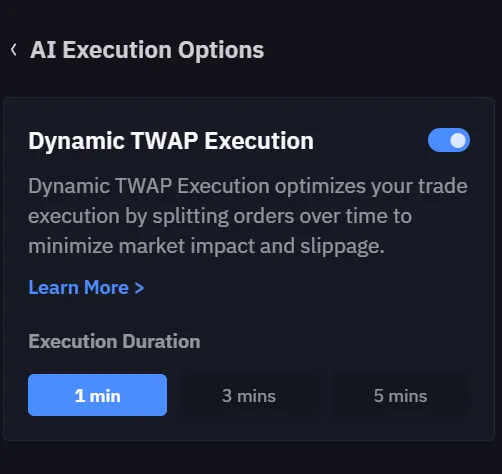
Edit main parameter — time constraints
Once an order has been started, monitor the order execution progress under the "AI Orders" tab of order and trade history section.